Before & After--Kitchen & Breakfast Nook
With so many inspirational kitchens featuring amazing open concepts and magnificent islands, I wouldn't have guessed that my ideal kitchen would one day assume the form of the much-maligned galley. Now? I can't imagine it any other way.
Where to Begin?
Admittedly, when we first bought the house, I didn't have the highest expectations for this space. I knew we could make it into something better, or at least prettier and marginally more functional than its predecessor. Anything beyond would be a bonus.
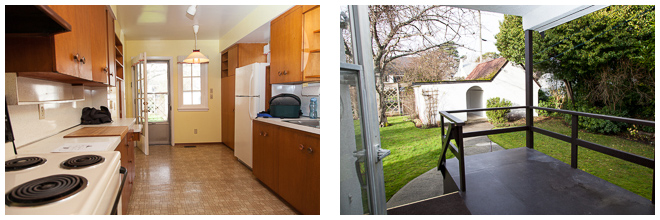
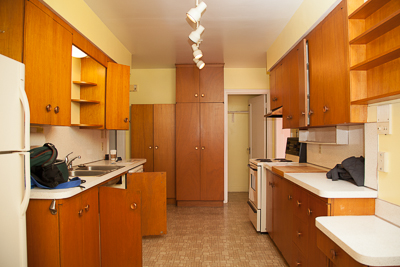
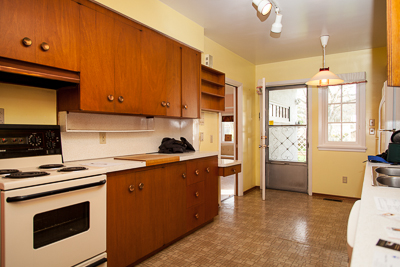
BEFORE:

The explosion of teak, while blazingly orange, was ultimately just a cosmetic issue. Conversely, there were a number of odd windows, entrances and stairs leading into the kitchen that posed significant challenges in creating a workable layout.
Then, our architectural designer, Wil, came up with the genius idea of enclosing the old back porch and claiming that space for the kitchen. Mmm...90 extra square feet. Could we now get the eat-in we'd hoped for? Giddy up, galley!
Once the house plans had been drawn up and the permit was issued, Wil's involvement in our project ended, leaving me with the job of figuring out what this raw space was supposed to look like. No pressure.
Inspiration
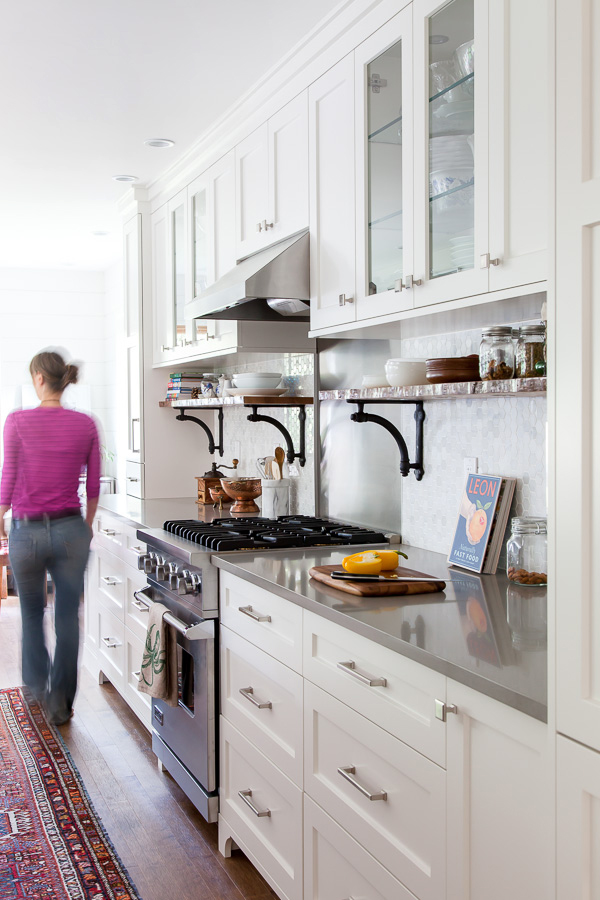
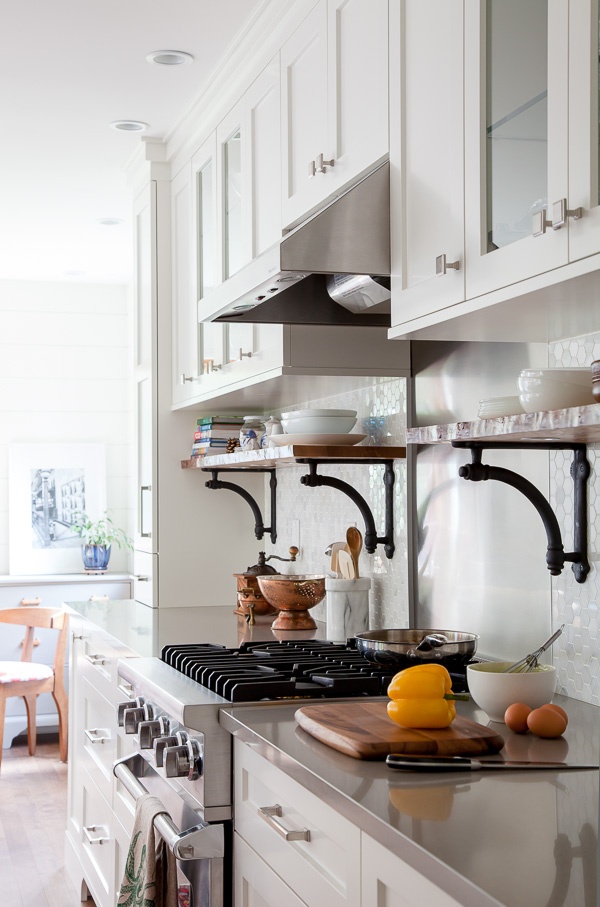
I must've combed through hundreds of galley kitchen photos, of which the most impressive were the stylish, function-rich wonders found in many a small New York apartment. Besides their innate sense of cool, seemingly ingrained at birth, New Yorkers are insanely practical people. Faced with the storage challenges of small-space living, New Yorkers build up. Literally. To the ceiling. We chose to build upwards too, elongating the lines of our cabinetry and making the space feel taller than it's 8'3" height. It's like cabinetry with high heels.
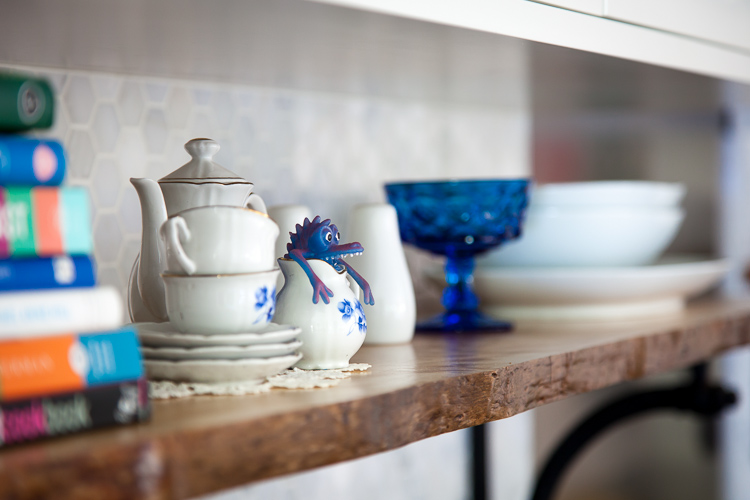
My other source of inspiration was the messy chic of bohemian Scandi kitchens, with their gorgeously cluttered open shelves proudly displaying the most stunning pottery known to humankind. Was there ever a culture with such astonishingly self-assured design sensibilities?
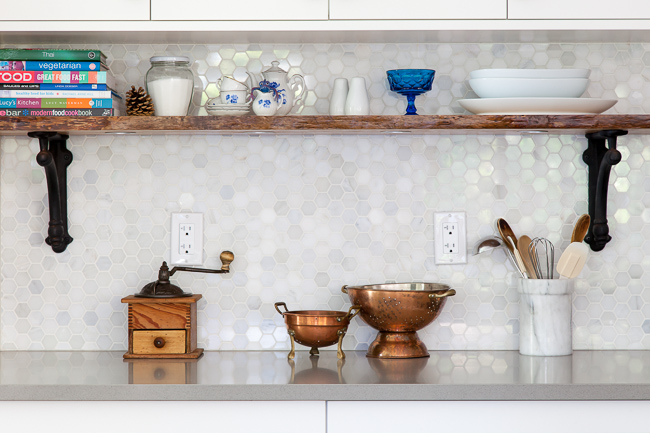
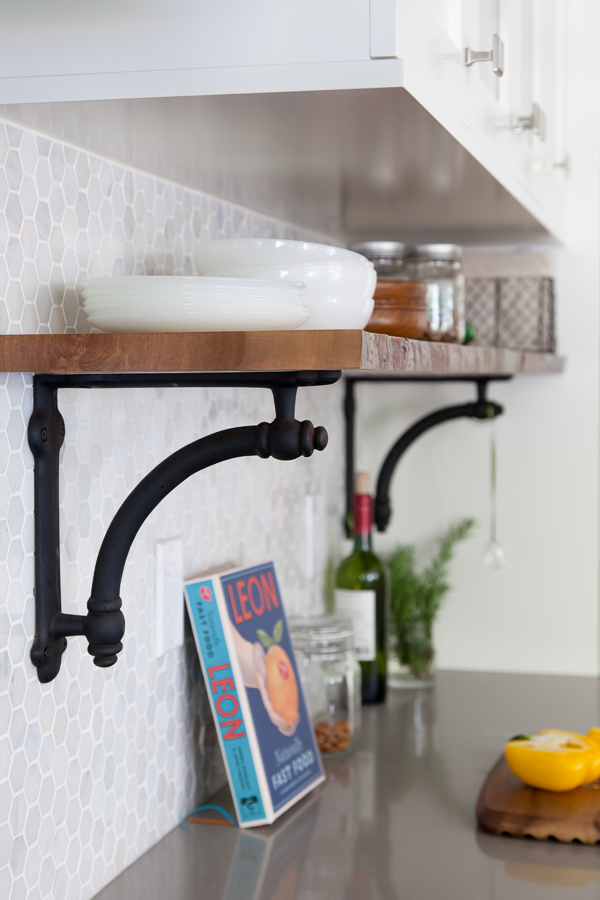
While I love the homey casualness of open shelving in lieu of upper cabinetry, my reality is that I just can't pull off an entire kitchen's-worth of it. So, here was my compromise: a bit of rustic open shelving to house prettier, everyday items and a few curated treasures + a smaller, open wall to create a visual break from runs of cabinetry. The rest of it? Behind closed doors! No one needs to see that 20-year old pan with half the Teflon peeling off.
The Cabinets
I met our cabinetmaker, James, last April, kicking off a fairly organic, slowly-evolving kitchen design process. I proposed a layout early on, the basics of which didn't change much. The details, however, were tweaked over several months as the rest of the house took shape. James was nice enough to not roll his eyes once during any of our long-ish meetings, which always seemed to involve an annoying number of folders (mine) filled with magazine clippings and messy sketches. Atta boy, James.
One thing about kitchens: the cost can kill you if you let it get out of hand. We had to pick our battles carefully and differentiate the extravagances from the must-haves.
Our must-haves: solid wood door fronts, well-constructed plywood inners, all-drawer lowers, and a comprehensive lighting plan. Among those items, drawers for the lowers represented a significant cost upgrade vs doors, BUT, they were SOOO worth it. With full-extension drawers, we can arrange contents easily and see everything. No more tupperware jenga or emptying 80% of cabinet contents to find that weird little bowl stashed at the back. Yep, drawers. The only way to go.
Our small extravagances: several glass door uppers with interior LED lights, "sitter" cabinets at the end of each run of uppers, and furniture-style legs in lieu of flat toe kicks. It's these little touches that make the space interesting to us.
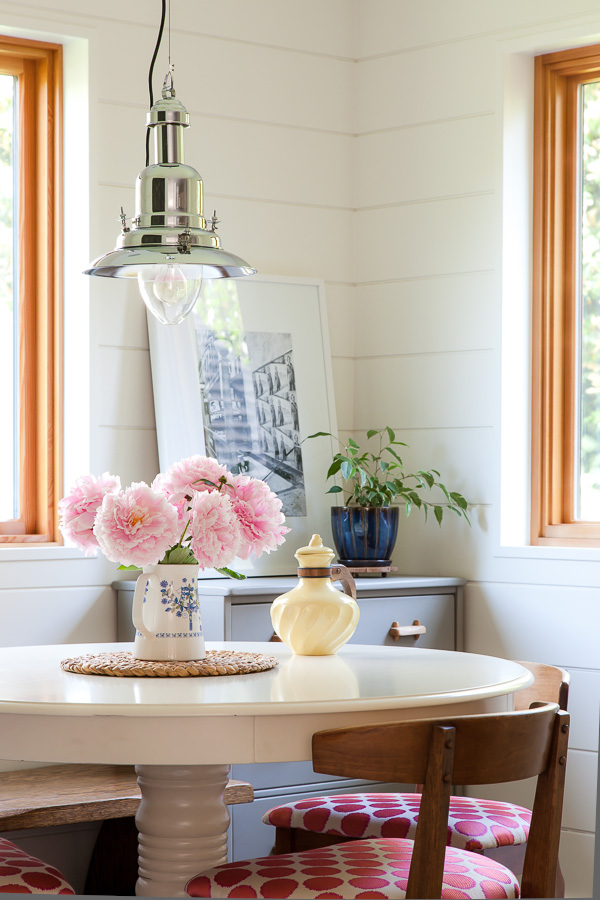
The Nook $500 Built
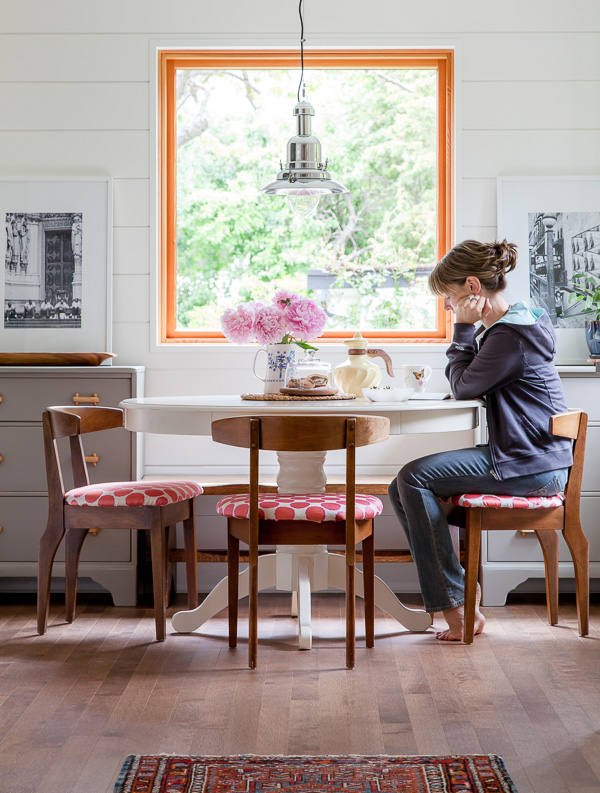
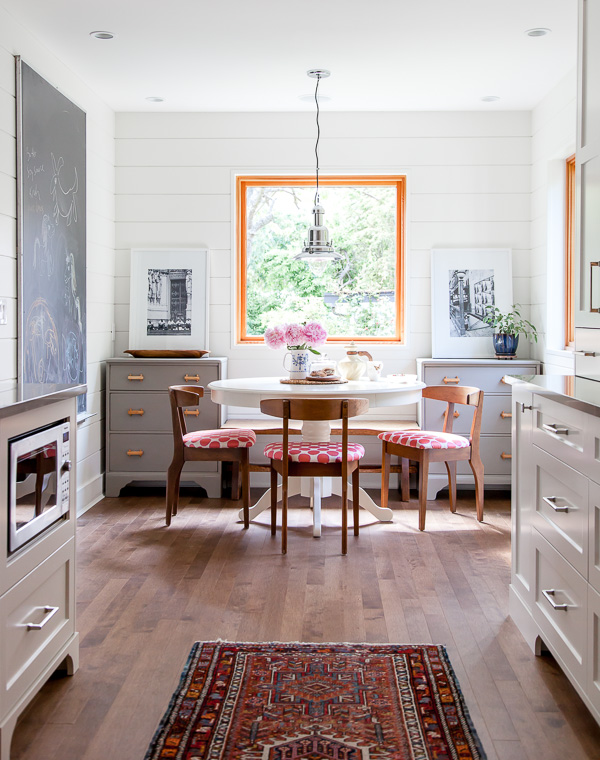
Among my favourite parts of our new space is the breakfast nook, where we eat most of our meals and stare out the back window, cultivating a love-hate relationship with the deer in our yard who look so damn cute while they eat all my flowers. The nook is cozy and has a mammoth 4' x 7' blackboard, where Gaby can often be found perfecting her chalk pufferfish masterpieces. Get this kid's autograph while you can. She's going places...
Best of all? Virtually every element of the nook was a bargain. Here's the cost breakdown:
-Chalkboard, $20 from The ReStore
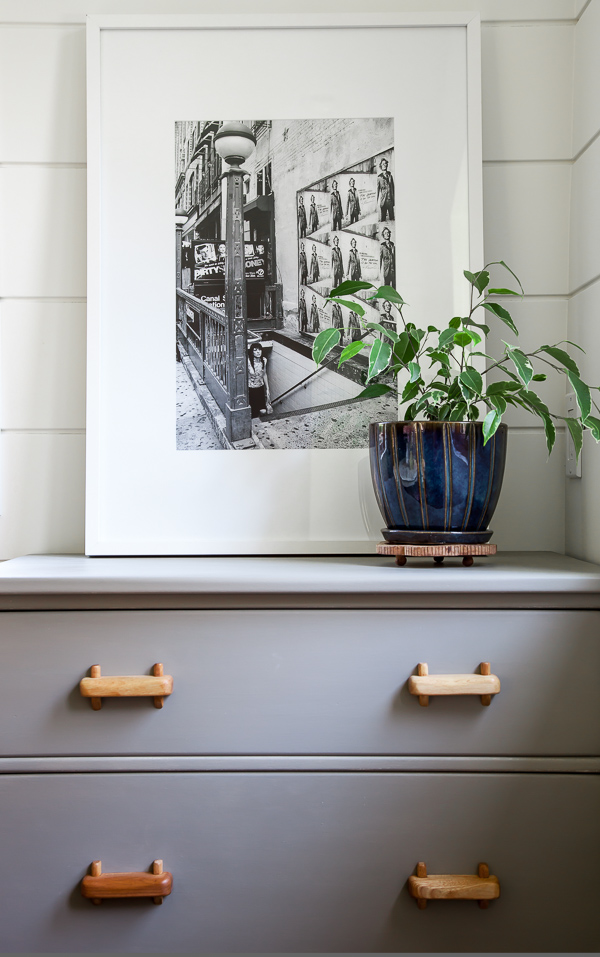
-Vintage maple dressers, $100 for the pair on Used Victoria. I chalkpainted them grey and left the handles natural.
-Oak trestle bench, $100 on Used Victoria
-Solid wood round table, $5 (no, that isn't a typo!) at an auction
-Vintage (repro) light, $40 on Used Victoria
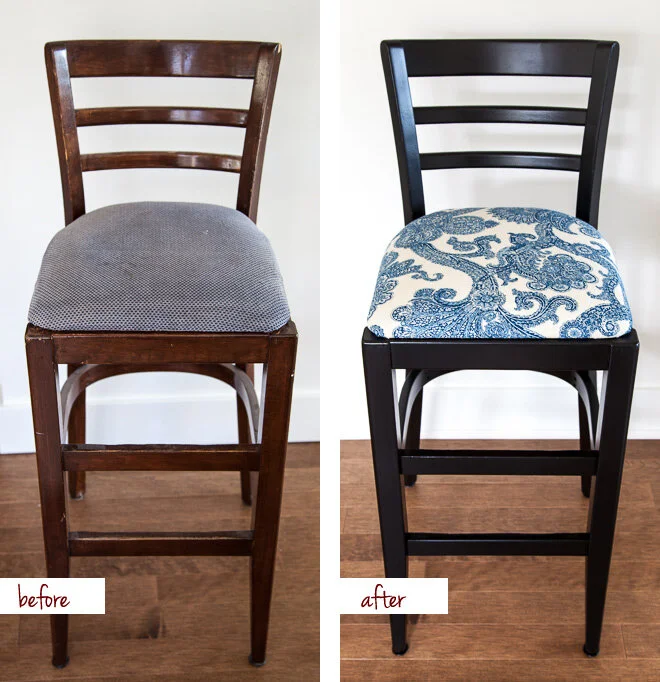
-Mid-century John Van Koert chairs, $150 for a set of 7 on Used Victoria. Score! Upholstery was an easy DIY.
It's a good thing most of the nook was done on-the-cheap because the horizontal slatted wood walls, a luxury I put on my must-have list early on, were anything but. There was nothing pre-made that fit the look I wanted, so after experimenting with different profiles and materials, our contractor made all of the boards himself. The installation, which involved 'wrapping' the walls seamlessly, with no corner trims, was painstaking, but I couldn't be happier with the results.
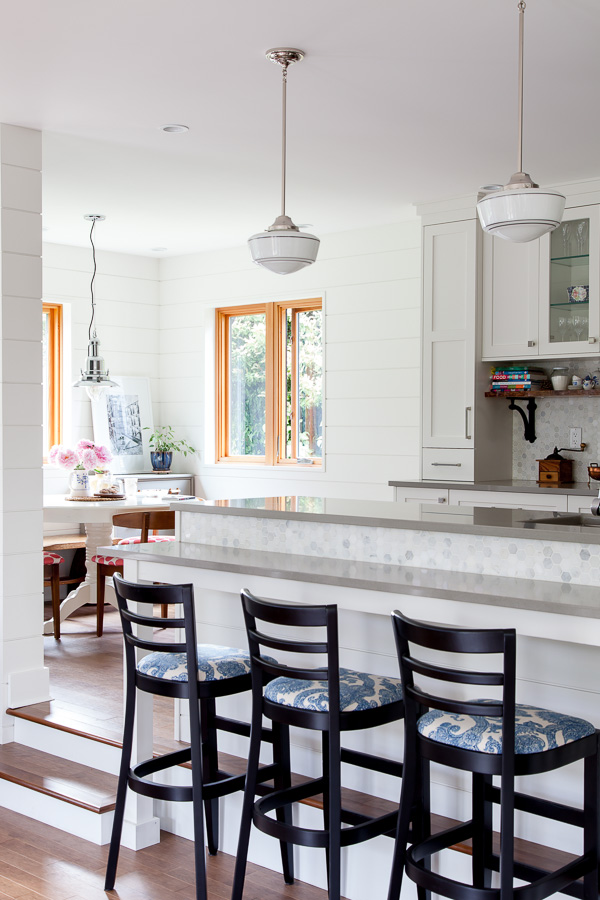
Steel Beams are Sexy

A big challenge in this space was figuring out how to deal with the clausterphobia-inducing walls. Enter the engineering marvel known as steel beams! We ran one down the length of the ceiling bisecting the kitchen and living room, allowing us to bust open a large expanse of wall. The result: plenty of extra light in the kitchen and, perhaps more importantly, the ability to simultaneously prepare dinner and watch the hockey game. Go, Leafs!
Enough Talk. Let's Cut to Some More Photos...
BEFORE:
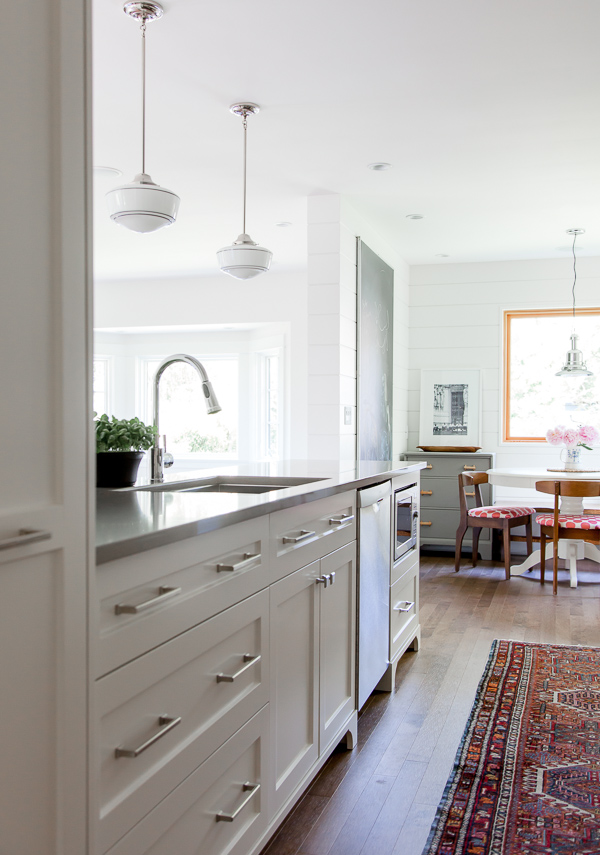
AFTER:

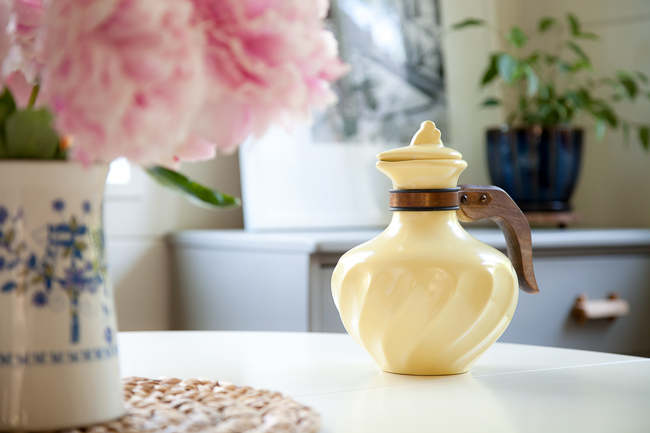
Vintage Poppytrail teapot

Peonies from our backyard...
BEFORE:
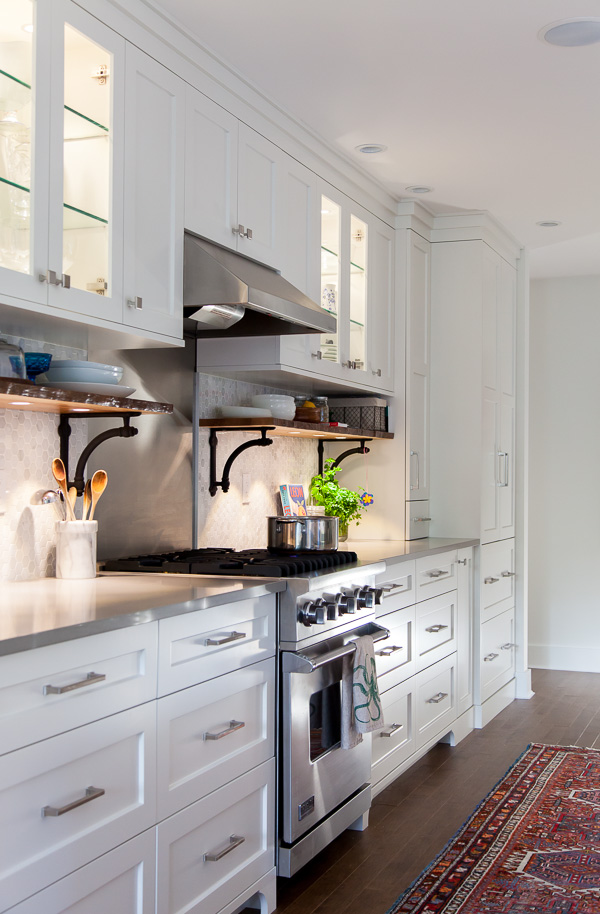
AFTER:
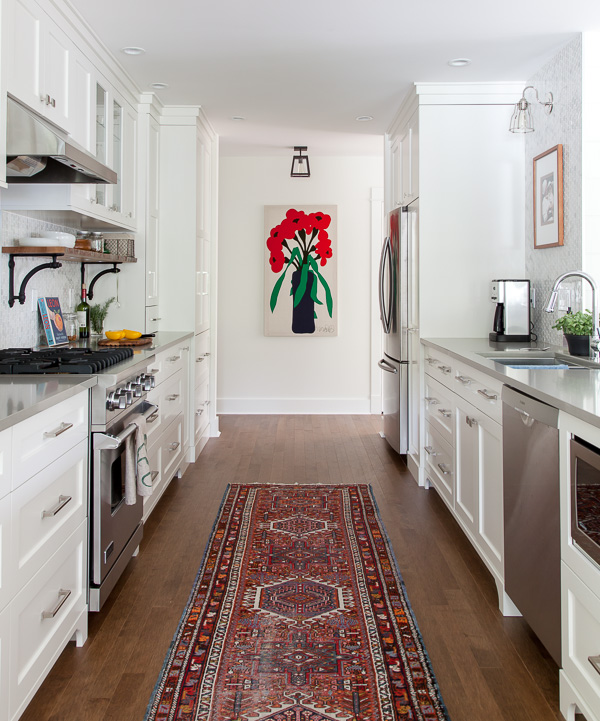

This is our 100 year old Persian runner. I love all of its beautiful imperfections. I'm sure those wear marks have many stories to tell.
BEFORE:
AFTER:

BEFORE:

AFTER:
Hope you liked the tour! We're pretty excited about our new space--it feels like "us" :-)
A few details:
Cabinetry: James Weedmark (and the lovely Sarah!)
Pental Quartz Countertops: Flo Form
Carpentry: Vickery & Sons, Darwin Kolodziejak
Flooring Installation: Andrew Dufour
Tile Installation: Versa Tile
Schoolhouse Lights (above breakfast bar): Schoolhouse Electric